


Tips
- This tutorial can be used for toenails too.
Start with clean and clear nails.
Make sure all nail polish is removed from the nail. Also, make sure the nail is free of dirt. Usually a manicure is given before nail art is done. If you do not know how to give a manicure, go to the article titled "How To Give Yourself a Manicure". This article is also posted on the cork board.

Paint the base coat.
For this tutorial, the base coat will be painted white. Make sure the base coat is smooth and even.

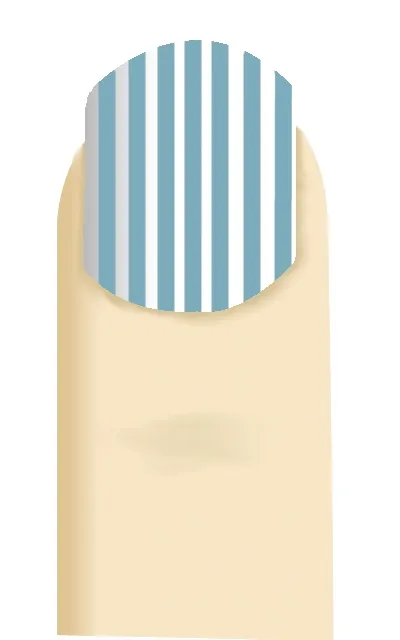
Add stripes.
Using a nail art brush, nail art pen, toothpick, or whatever your comfortable with, paint thin, horizontal, light blue stripes on the nail.
Add detail.
Using a nail art brush, nail art pen, toothpick, or whatever your comfortable with, randomly paint small red blotches. These should NOT be perfectly round circles.

Add details.
Using a nail art brush, nail art pen, toothpick, or whatever your comfortable with, paint curves within the red blotches using a lighter red. When finished, they should look like roses.

Add leaves.
Using a nail art brush, nail art pen, toothpick, or whatever your comfortable with, paint small green leaves angling out of the roses.

Add details on the leaves.
Using a nail art brush, nail art pen, toothpick, or whatever your comfortable with, paint darker green lines inside the leaves.

Add a top coat.
Add a top coat to make it shine and prevent the polish from chipping and your done!

Comments
Be the first, drop a comment!