


Tips
- This same tutorial can be used on toes too.
Start with clean and clear nails.
Make sure all nail polish is removed from the nail. Also, make sure the nail is free of dirt. Usually a manicure is given before nail art is done. If you do not know how to give a manicure, go to the article titled "How To Give Yourself a Manicure". This article is also posted on the cork board.

Paint the base coat.
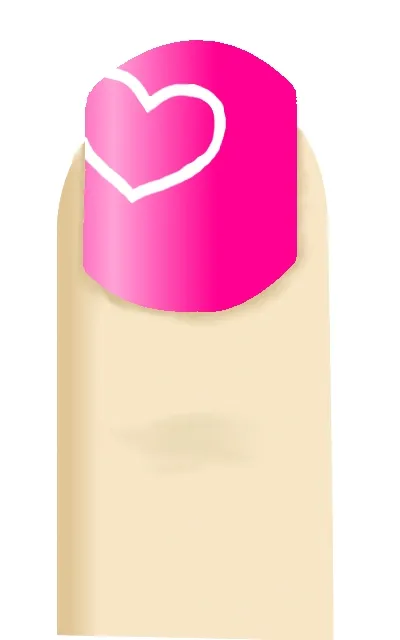
Start with an pink coat of nail polish. Make sure to apply the polish smoothly and evenly.

Add details.
Using a nail art brush, nail art pen, toothpick, or whatever your comfortable with, add a white heart in the upper left corner of your nail.
Add details.
Paint an angled red heart connected to the white one.

Add dots.
Paint random light pink dots on your nails.

Add a clear top coat.
A top coat will complete your nail design by making your nails shiny and preventing them from chipping. When you are finished, your nail should look like this.
Tips
- When painting with your non-dominant hand, use stencils. See my article "How to Make Nail Art Stencils" for instructions.

Comments
Be the first, drop a comment!